In today's digital age, mobile app design and development has become an essential component for business success. In this article, we will explore in detail how to create an effective mobile app prototype that not only meets user expectations but also stands out in the marketplace.
Table of Contents
What is a Mobile Application Prototype?
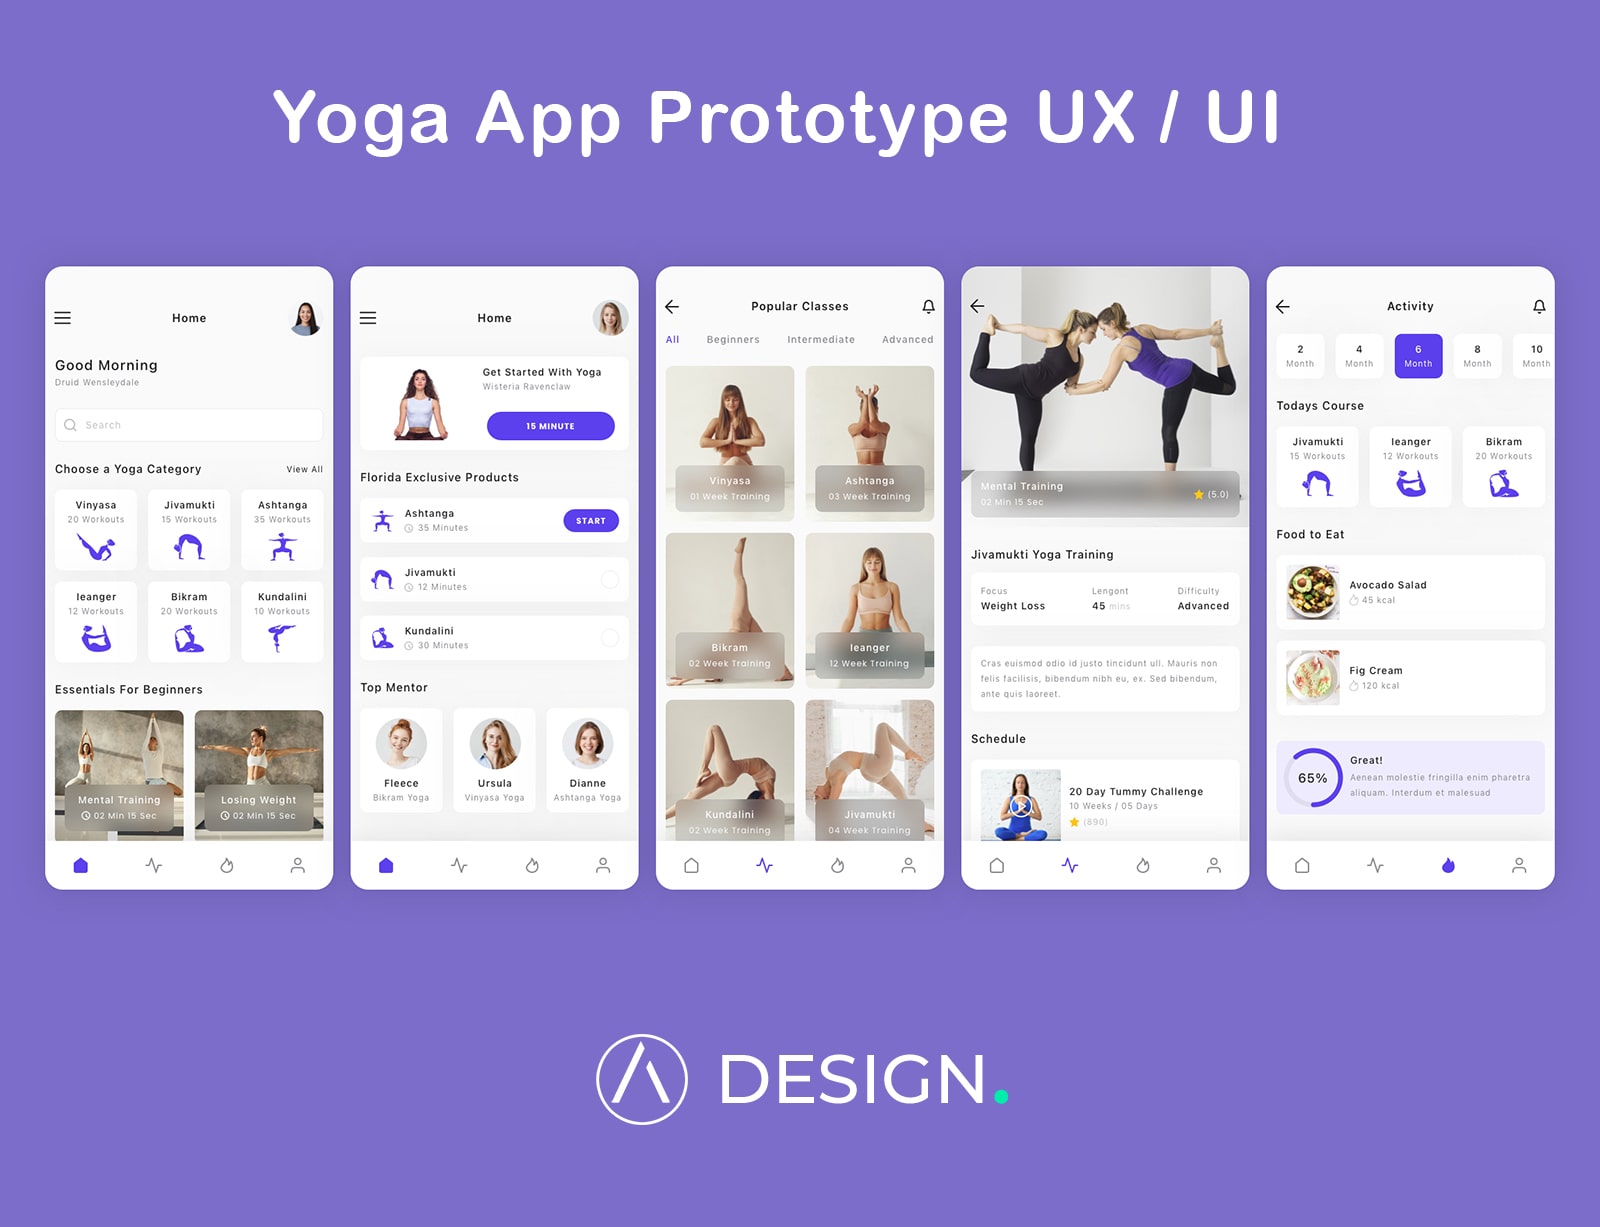
A mobile app prototype is a semi-functional representation of the final app. Its purpose is to visualize the design, user interface (UI) and user experience (UX), allowing developers and stakeholders to preview the functionality and look and feel of the app before full coding.

Whether you are looking for funding from family members or potential investors, defining a prototype correctly is the key to attract investment for your app. From the App Design team we have seen how some of our clients went from having 2 or 3 investors to more than 40 after designing the prototype of their app.
In this article you will learn how to create a free application prototype from the beginning. Our experience creating mobile applications for more than 20 years, makes us work on the small details, the keys for develop mobile applications for our customers.
Key Steps to Create an App Prototype
1. Definition of Objectives and Target Audience
Before starting the prototype design, it is essential to define the objectives of the application and understand the target audience. This includes identifying the user's needs, the desired features and the added value that the application will offer.

The first thing you need to know is your business model, which is defined by the following points:
- Who are your potential customers?. The design of an app is defined by the type of target audience: whether it is for children, for seniors or for a specific niche such as the luxury sector.
- Study your competition. Maybe you can get new ideas and improve your app by studying the competition. What similar apps are already developed in the market.
- Think ROI. Many customers have in mind exclusive functionalities that do not bring benefits to the application, thinking about ROI (return on investment) is the key to launch a first functional version with the lowest possible costs.
- Less is more. Your application should be easy and simple, with a flat learning curve to simplify use.
- Not sure?, start over. It is important to define the main idea, study the main problem of your customers and how to solve it in the most efficient way possible. Talk to your future customers, collect ideas and re-evaluate the 5 key steps to define your business model.
For a first contact, a self-study outside the app development is necessary. Collecting ideas from your customers will make you see new functionalities where you can create a utility for your end users.
2. Sketching and Wireframing
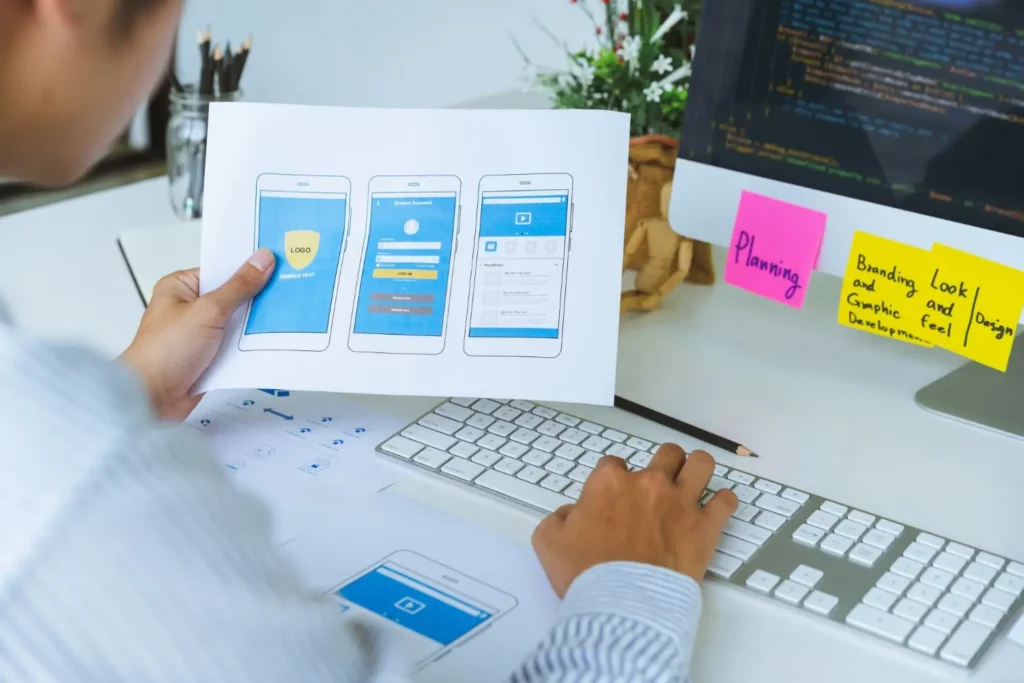
Sketching is the first step in the visualization of the application. Here, basic sketches of the screens are drawn and the overall structure is defined. Subsequently, a more detailed wireframe is developed, which provides a visual representation of the UI, showing elements such as buttons, menus and other interactive components.
Once you have defined the business model, the next step is to break down the amount of functionality needed to develop your mobile application.
Let's take an example of a social network type mobile app, you will need to access the mobile device to launch different functions such as:
- Access to camera and gallery, it will collect the photos to upload to each user's profile.
- Access to social accounts, so that users can easily register through the main social networks such as Facebook or through gmail.
- Map functionalities, location of the user through maps. This function can be performed with the Google maps API, PositionStack, Mapbox or Here, there are many others but these are the main ones.
- Online advertising, including ads in the app through a provider such as Google AdMob, the main platform for including ads in mobile applications.
- Include videos in your app. Each functionality requires a previous study, is it necessary to include videos, will it affect the main utility of the app?
You must take into account that each functionality will have an additional cost, not only in design and development of the app, but also in recurring costs.
Videos take up more space than usual, so you will need a much more expensive server than usual. Therefore, it is necessary to know if it is worthwhile to develop all the app's functionalities in order to study your clients in a first app version.
3. Define the sitemap of an app
This is the most important point in evaluating the app budget. From our mobile application development team, we always recommend taking the time to develop a complete sitemap for your application, as this will allow us to estimate the costs more accurately.
In order for an app development team to define the application, it is necessary to know the sitemap of the complete application for its first version (MVP). This will help the development team to understand how the app works.
Spending time to define well all the views or sections of your app, will lead to an application development company not to move away from the total costs of the project, over-estimating the costs or worse, falling short and leaving the development halfway. In our company we use a flexible methodology to eliminate these risks, contact us to study your case in a personalized way.
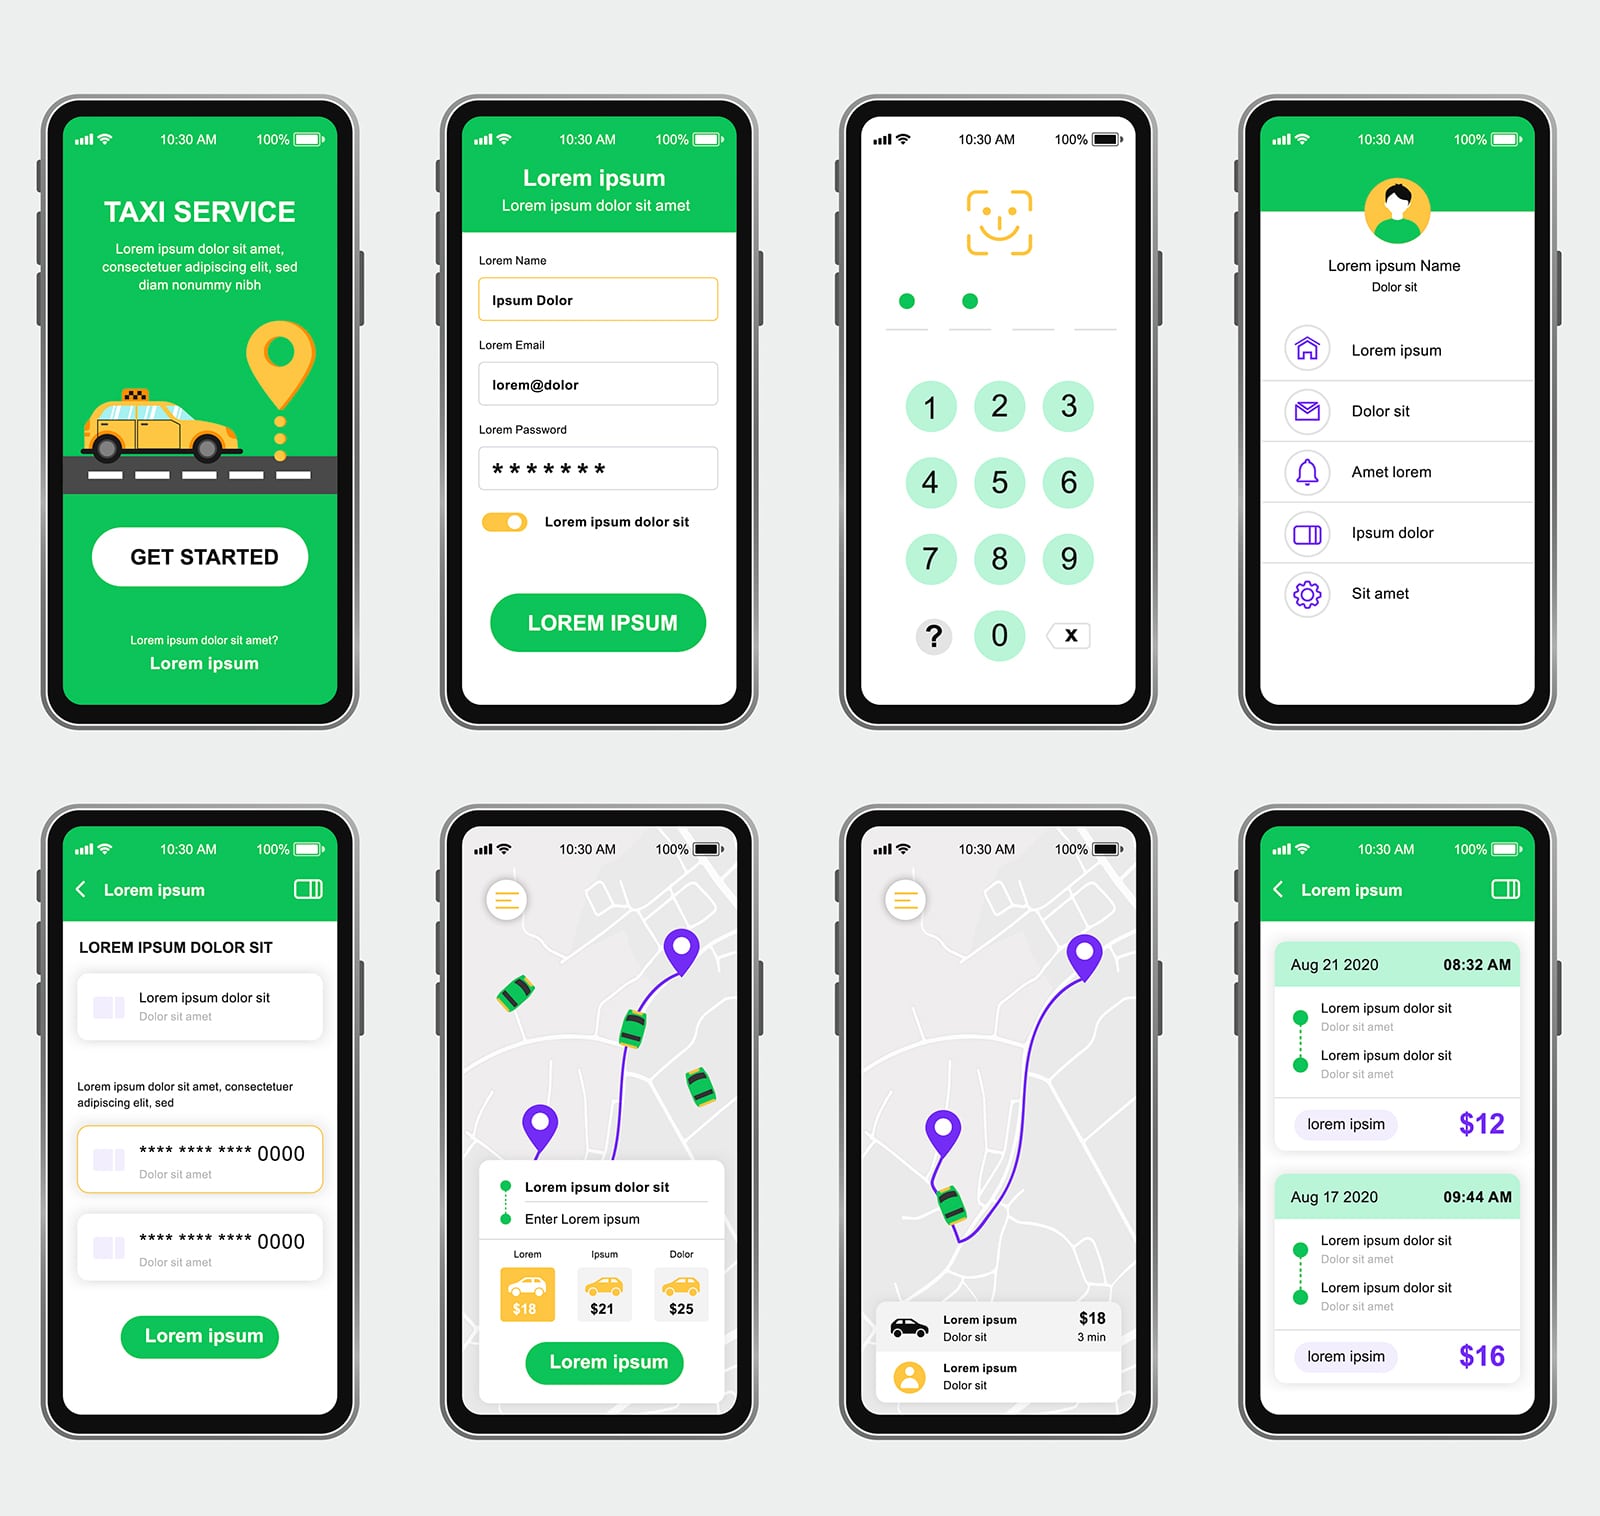
Below you can see an example of a sitemap for a VTC type application for cabs:
App Site Map
- Access
—1.1 Registration
——1.1.1 SMS verification
—1.2 Forgot password
Client: - Choose a destination (from X to Y)
—2.1 Configuration of the trip to be made (luggage, animals, type of cab...)
—2.2 Confirm (pay by credit card, paypal or to the driver)
—2.3 Cab tracking and estimated arrival - Trips made
—3.1 Detail of trip made
——3.1.1 Valuation
——3.1.2 Invoice - My profile
—4.1 Edit my profile
—4.2 Notifications
Driver/taxi: - List of requests (to accept or cancel)
—5.1 Request detail (tracking for en route trips) - Agenda
—6.1 Configure availability - My driver profile
—7.1 Edit profile
—7.2 Notifications
Web: - Landing
—8.1 Driver registration
4. First MVP Version

Our main advice is to spend more time studying the sections your app will take. You can do without the previous steps if you have a good and well elaborated sitemap.
5. Prototype Design Tools
Once the sitemap is defined, you need a UX/UI expert to design your application efficiently. The designer will create all the sections of the application to make your idea visible.
The main tools that UX and UI application designers work with are as follows:
- Figma: is one of the main app prototyping tools currently in use.
- Invision: very similar to the previous one, perfect for large web application projects where you need to work with more designers.
- Adobe XD: also widely used for prototyping, is used more for web prototypes.
- Mockflow: a powerful digital product design tool. Shape the user interface and structure of your app.
- Moqups: create prototypes of your interactive applications.
Simulating a user experience with your app is essential to get potential investors to test your app on a prototype.
6. Development of your app prototype
I already have the prototype of my app, what's next?. Once you have defined the prototype, you will need to develop the application and the control panel to manage your app.
Choose a technology for develop your app, we recommend React NativeThe main code for the development of hybrid mobile applications is the use of the technology, due to the amount of support and libraries it has available. Applications such as Instagram, Aibnb, WhatsApp, Facebook and Netflix are developed with the technology. React Native.
There are other types of newer and more efficient technologies, such as Flutter. You should know that it has been in development for a few years, so the costs and work times will be higher. In addition, many of the libraries do not exist, so you will have to create them and assume the costs.
7. Thorough Application Testing
Once the prototype has become a working application, thorough testing becomes essential. This stage involves various forms of testing, including:
- Unit Tests: They focus on verifying the functionality of individual application components.
- Integration Testing: They evaluate the efficiency of the application when different modules or services work together.
- Usability Testing: They focus on the user experience to ensure that the application is intuitive and easy to use.
- Performance Testing: They verify the stability and response of the application under different conditions of use.
8. Application Maintenance: Ensuring Longevity and Relevance
Post-Launch Maintenance Strategies
Application release is not the end of the development process. Ongoing maintenance is crucial:
- Regular Updates: Incorporate new features, bug fixes and security enhancements.
- Performance Optimization: Monitor and improve application performance.
- Adaptation to New Platforms and Devices: Ensure that the application is compatible with the latest versions of operating systems and devices.
- User Feedback Analysis: Continue to collect and analyze user feedback to make improvements.
These additional steps guarantee not only the creation of a successful mobile application, but also its evolution and adaptation in a constantly changing technological market, thus ensuring its long-term success and relevance.
If you need help to design the prototype of your app, contact our team at UX/UI application designers. We will help you create your successful app.

